 First off, equipment matters, and that includes both hardware and software. A mixer of some sort is a must. (all deserved deference to the ladies of yore, who mixed their cakes by hand, but these days no one would ever have their cake if that were still necessary.) A stand mixer is better, though I imagine a hand held mixer would do, but you might end up with carpal tunnel. A 12 inch serrated knife and cake rounds both make for a prettier cake. As does some way to elevate and turn the cake easily while frosting it. Of course, Paula had a pro's revolving cake stand, and if you are going to bake a lot of cakes, I imagine it would be worth acquiring one. I saw Alton, on an episode of Good Eats, make a revolving stand by taking a cheap plastic lazy susan, and set it on top of a spring form pan, which is an interesting solution for the occasional baker, but even he insisted on cake rounds. Amazon has cake rounds for cheap, and with free shipping if your total order is over $25. Which brings me to books. Paula often consults Julia Child's book on baking, and I want one now. Cake flour matters. If you are going to bother baking a cake from scratch, buy some cake flour. As does a decent spatula for frosting.
Another surprise, which makes total sense when you think about it, was Paula's consultation for recipes of some of those old timey, spiral bound community cookbooks, often the product of a ladies church league project. What cake do you crave? Something from a commercial bakery, or the cake your grandmother used to bake for your childhood birthdays?
We settled on a cake called "Harvest Moon" from one of those old spiral bound books. It is essentially a brown sugar yellow cake. I learned, while perusing that recipe (at the end of this post), that 3 cups of cake flour, sifted, is different than 3 cups of sifted cake flour. The first means measure then sift, the second means sift, then measure. And it does make a difference, by changing the total volume of flour in your cake, which will change both texture and moisture in the finished cake. Another must is the proper creaming of the butter and sugar. The butter should be soft, but not too warm, or the friction in the mixer will melt it before it lightens. The butter is creamed until the color begins to lighten, then the sugar is added and the creaming continues, until the sugar is fully incorporated, and the whole is a smooth, light paste. No skimping or short cuts allowed.
Paula chose a brown butter frosting for the cake, and it was a revelation. It is a simple powdered sugar frosting, just like my mom used to make, but browning the butter made all the difference in the world. To my adult palate, my mom's frosting of powdered sugar, butter, milk, and vanilla is too sweet and rather one dimensional. By browning the butter first, melting the butter in a sauce pan until the milk solids drop to the bottom of the pan and the butter turns a light nutty brown, she brought a whole new dimension to the simplest of frostings. The butter took center stage, instead of the sugar, adding rich caramel notes to the frosting.
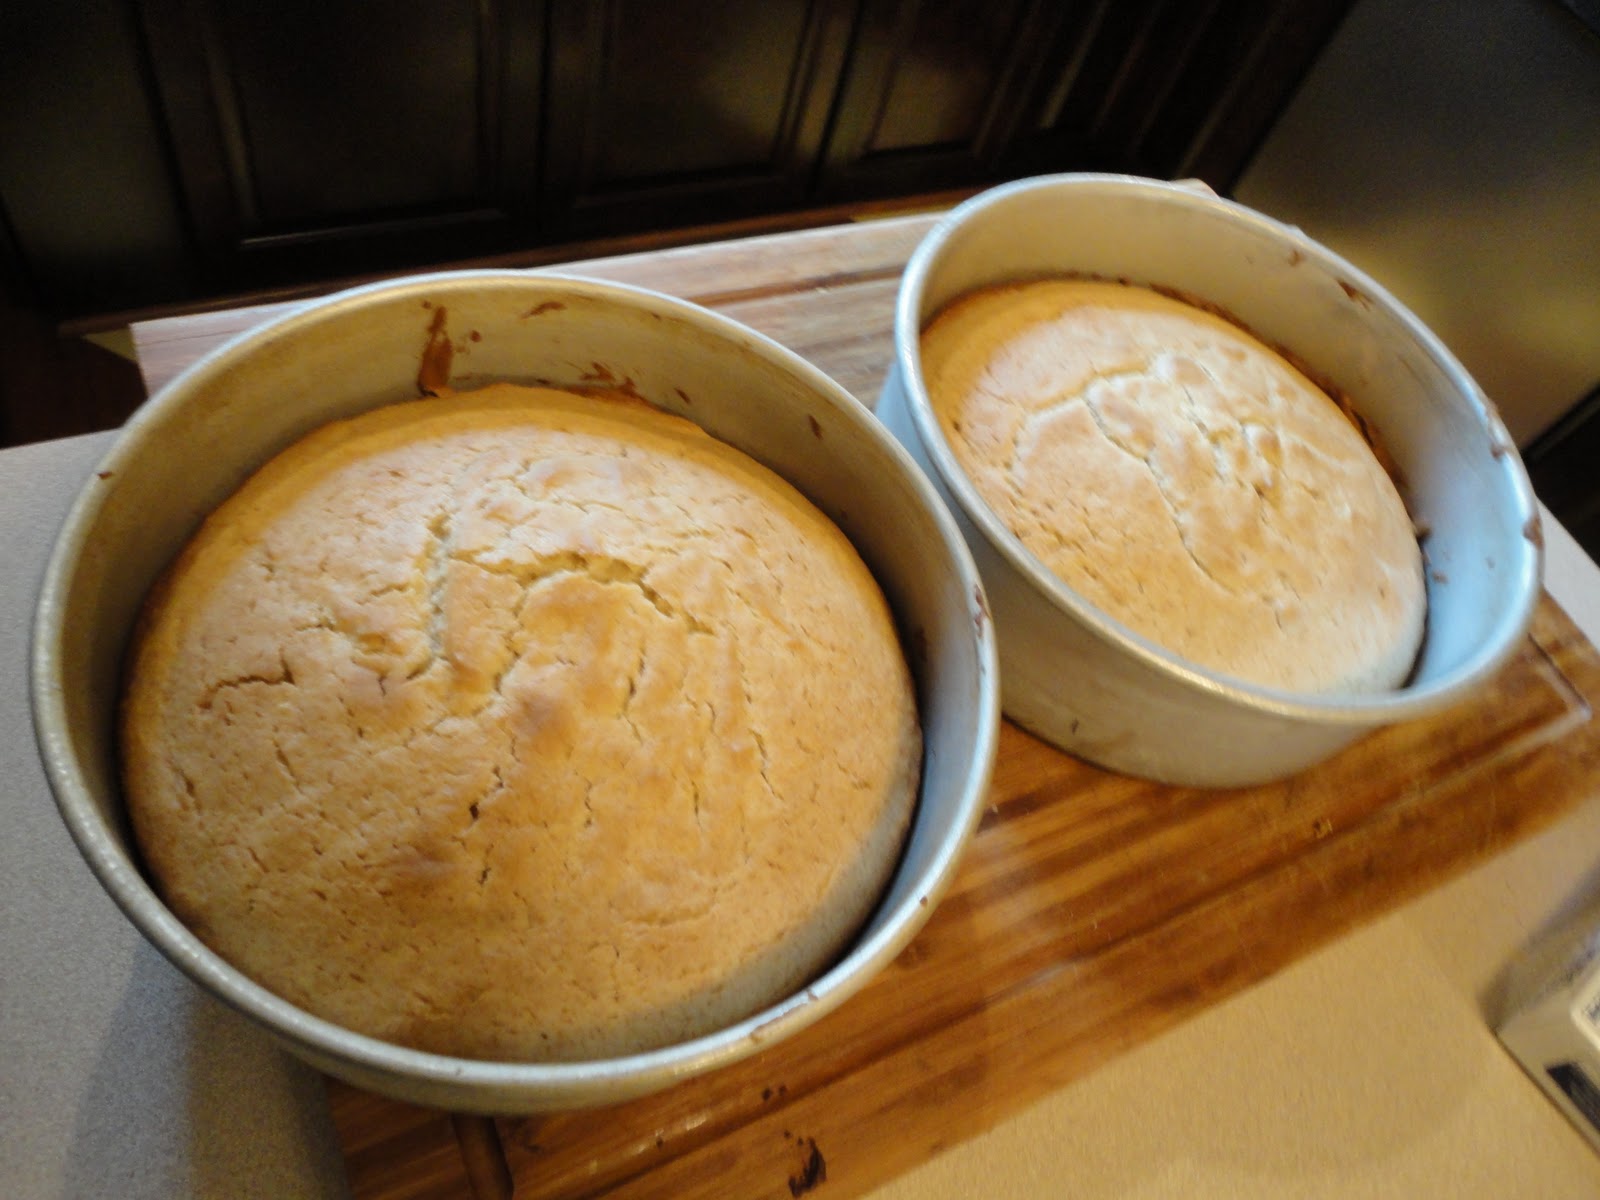
notice the light colored cake pans--
light color=lighter, finer crust on the cake
I am tossing my cheap, dark cake pans
and getting the real deal
Once the cakes are cooled, that 12 inch serrated knife comes into action. Cutting the domes off of the cake means you will have a cake that looks like a cake, rather than a alien space ship. Just slice gently, parallel to the cutting board, while slowly rotating the cake. Doing it on a revolving cake stand is even easier.

Paula's son, Tal, has a finely tuned radar,
with the ability to know the exact moment
the removed cake domes are up for grabs
What you see above is called "masking." It is applying a thin layer of frosting over the cake, to contain crumbs and keep the final product pristine and crumb free. We didn't have the time, but Paula suggested that freezing the cake for an hour or two before masking makes icing the cake even easier, which was a bit of an "aha" moment for me. I use that technique to make several different tasks easier, like grating cheese or grinding meat.
Okay, now, I am going to let Paula's icing demo speak for itself. Awesome:


Notice how she never lets the spatula touch the cake -- it is always on the frosting. That's just a little more insurance that you'll end up with a cake this beautiful and crumb-free. I'll never consult the boxed cake goddess again.
The cake recipe:
2 sticks butter, softened
1 1/4 cups brown sugar
3 egg yolks
3 cups sifted cake flour
1/2 tsp salt
1-2 tsp vanilla
1 cup whole milk
Have all of your ingredients at room temperature. Don't skip this step. Really. I mean it. Preheat your oven to 350. If your oven seems to run either hot or cool, get an oven thermometer and use it to adjust to the correct temperature. On second thought, just get an oven thermometer, period.
Begin creaming the butter at medium speed in a mixer, until it lightens and begins to increase in volume. Add the sugar a half a cup at a time, and cream until you have a silken smooth, light paste. Continue to beat while adding the egg yolks one at a time, waiting until each is incorporated to add the next. Add salt and vanilla and incorporate. Incorporate 1 cup of flour with 1/3 of the milk by alternating additions. You can do this in the mixer, but if you want to be assured of a light, tender crumb, just do it by hand with a rubber spatula. The less beating during the flour incorporation, the better -- you want a minimum of gluten development. Bake in two greased and floured 8 or 9 inch cake pans. For even greater ease of removal, line the pans with greased parchment paper.
Bake until the center of the cake just springs back, and a toothpick inserted in the center comes out clean -- about 30 minutes, depending on the size of your pans. Check after 20 minutes, then watch them like a hawk. No one likes dry, overcooked cake.
Amazing Brown Butter Frosting
2 cups butter
32 oz powdered sugar
1/2 cup milk
2 tsp vanilla
Put the butter in a saucepan over medium low heat, and heat until the milk solids sink to the bottom, and the butter becomes a fragrant, nutty brown. Be careful, and watch closely. It is easy to burn butter. As soon as you begin to smell the fragrance and the butter becomes a pleasant shade of light brown, pour the butter carefully into a mixing bowl, leaving behind the milk solids, which will impart a bitter flavor to the frosting. That was the hard part. Now, just dump in the other ingredients, and beat away with a hand mixer, a stand mixer, or your muscles, until the frosting is creamy, smooth, and light. Start out very slowly until the sugar is moistened, or you and your kitchen will be wearing half of the powdered sugar. Chill, then frost as shown above.
Have your cake, and eat it too.
No comments:
Post a Comment